How to write a candy packaging brief before you order bags
A practical brief for comparing quotes, preparing artwork, and avoiding expensive assumptions.
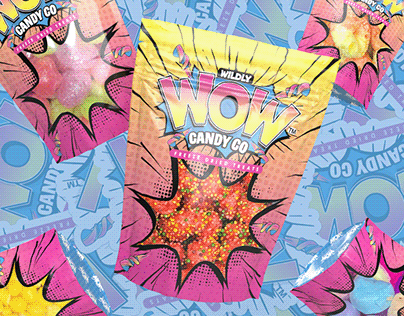
Describe the product before the design
A packaging brief is the shared record between you and the people supplying your bags or labels. Start with what goes inside: product name, intended net weight, typical piece size, and the presentation you want. Measure the actual filled product rather than assuming that a bag with the right printed weight will have the right usable space.
Ask the supplier about samples, usable internal dimensions, closure and seal areas, and suitability for your intended application. A width and height alone do not tell you how a filled pouch will behave. Keep any performance claims tied to supplier documentation and your own appropriate validation.
Separate fixed artwork from changing information
List which elements stay the same across the line: logo, main colors, brand story, and contact information. Then list what changes: flavor, product name, net quantity, ingredients, and any batch-specific information. This helps you decide whether each product needs its own printed bag or whether a shared bag with a variable label could work.
A shared format can simplify small initial runs, but it introduces label application and version-control work. Fully printed versions can reduce those steps while committing more cash to each design. Compare the whole workflow rather than treating one format as automatically better.
Make the quote comparable
Send every supplier the same specification. Include quantity per design, number of designs, dimensions, printing areas, desired finish, closure features, delivery destination, and your required date. Ask what is included in the quote and which changes create new charges.
Track artwork setup, proofs, sample costs, shipping, taxes, and any quantity tolerances. A lower unit price can still produce a higher total order cost. Keep the quote date and specification together so that an old number is not mistaken for a current offer.
Plan the information hierarchy
At a glance, the front should help a shopper identify your brand, the product, and the quantity. Important information should not disappear into a bright pattern or compete with several equally loud claims. Print the design at actual size and look at it beside the filled bag.
Reserve space for the information required for your specific product and jurisdiction. Obtain qualified review where needed. A designer can help organize supplied copy, but attractive artwork does not itself establish that a food label is compliant.
Approve a version, not a vague idea
Name the final file with the product, size, revision, and date. Confirm the proof dimensions, copy, orientation, print areas, and any supplier-specific instructions in writing. Save the approved proof alongside the order confirmation.
Copy this brief: product and fill; dimensions to test; quantity per design; fixed and variable copy; artwork files available; finish and closure; proof process; delivery deadline; total landed cost; person approving the order. If a field is unknown, make it a question before production rather than an assumption afterward.
Examples are illustrative unless stated otherwise. These guides use AI-assisted drafting and do not represent product tests or guaranteed business results. Read our editorial approach.